Do you know the biggest challenge for online shoppers?
Finding the right product!
Yeah, almost every product is available online nowadays. From a simple needle to smartphones, clothes, and even houses, you can purchase everything on the internet. Online shopping saves time and gives us plenty of options to choose the right product. It’s truly a blessing for everyone, isn’t it?
Well, it depends. Having plenty of products has its pros and cons. Because it can be incredibly challenging for shoppers to find the perfect product from this vast amount of products. But there’s a decent solution to this problem. As a store owner, you can solve it by adding functionality to filter product by category on your WooCommerce store. It will improve the online shopping experience for shoppers far more.
That’s what we are going to explain today. In this post, we’re going to present the easiest process of adding product filters to your eCommerce website. Let’s dive right in.
How to Filter Product by Category in WooCommerce?
In this section, we will show you the easiest process to filter WooCommerce products by category.
Required Plugins
You will need only 2 plugins to add category-based product filtering options in your online store. These are:
- WooCommerce
- Filter Plus
Install these plugins and follow the process below.
Step 1: Create a Product Category
You must create product categories to offer the filter product by category functionalities to the users. Simply navigate to WP Dashboard > Products > Category. The category page will look like this.
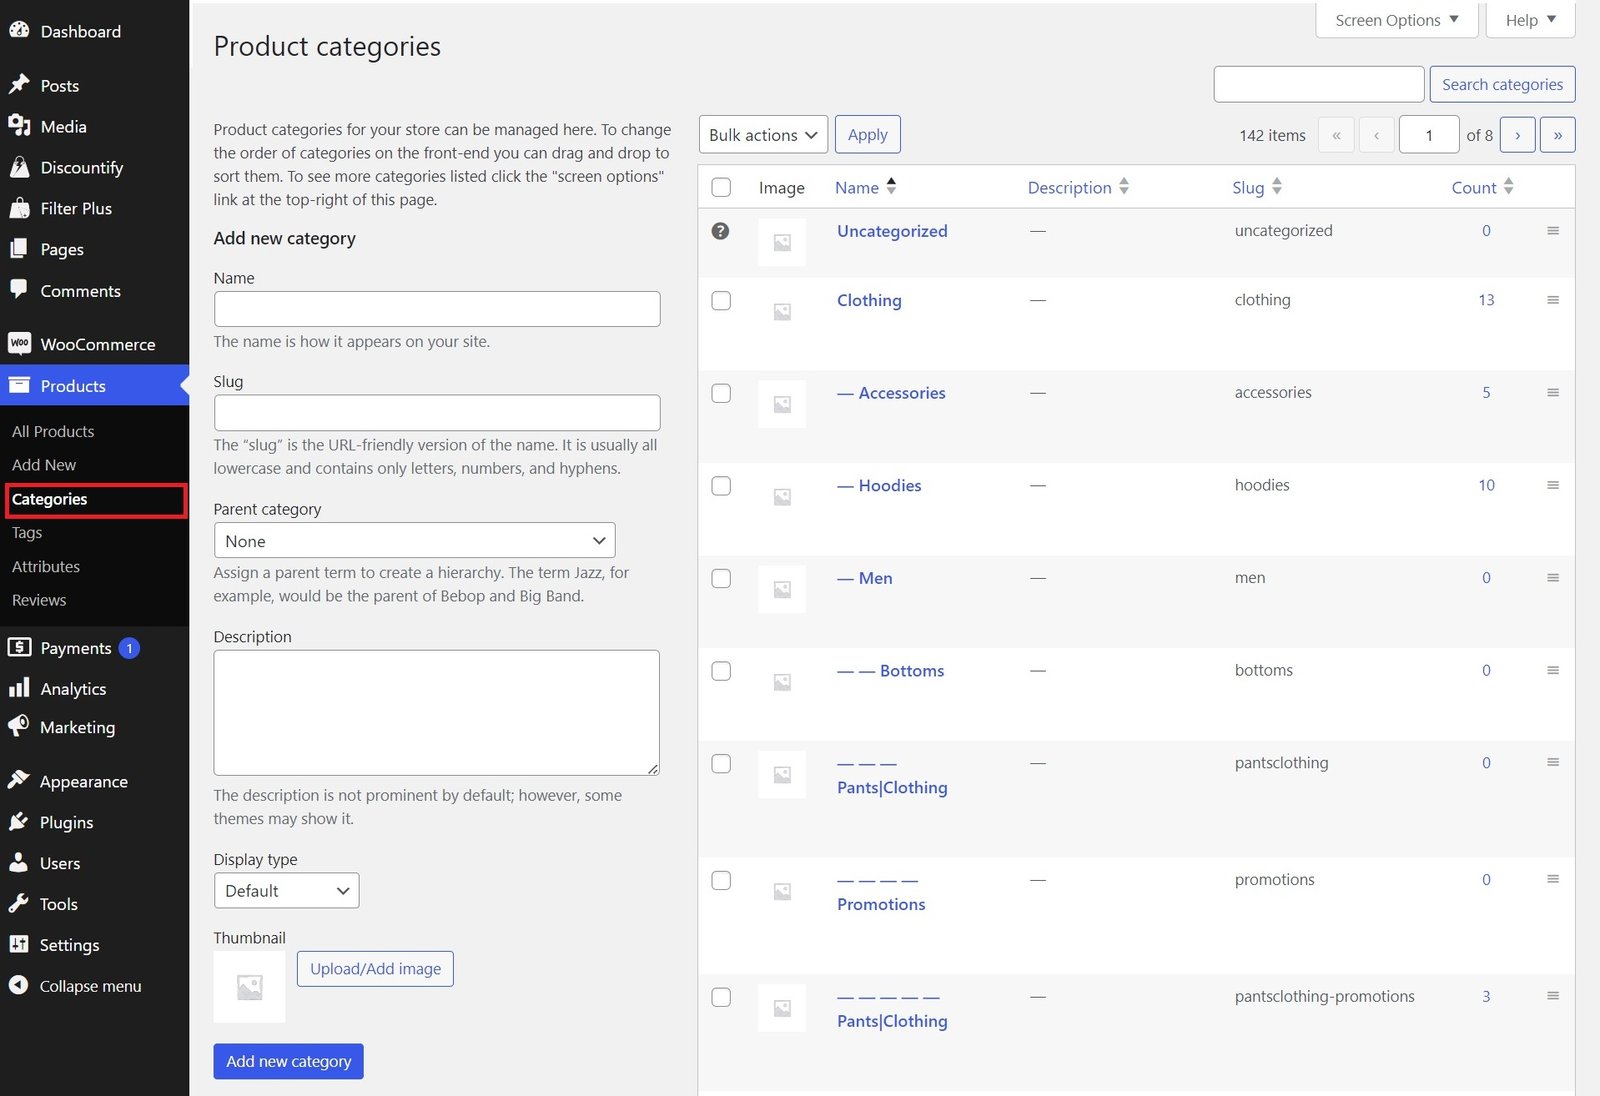
All of your previously created categories will be available on the right side. Besides, the new category creation fields are available on the left side.
There, you’ll get the option to add the category name, slug, parent category, description, display type, thumbnail image, etc. Remember, the “Name” field is mandatory here.
After filling out all of the relevant information, simply click on the “Add New Category” button. You can see the newly added category at the top of the category list.
Step 2: Assign Category to a Product
In this category, we will assign the newly created category to a product. To do so, you have to go to the product details page. You will find all your products on the WP Dashboard > Products > All Products page.
Click on the product name which one you want to assign under that newly created category. Then, scroll down until you find the “Product categories” panel.
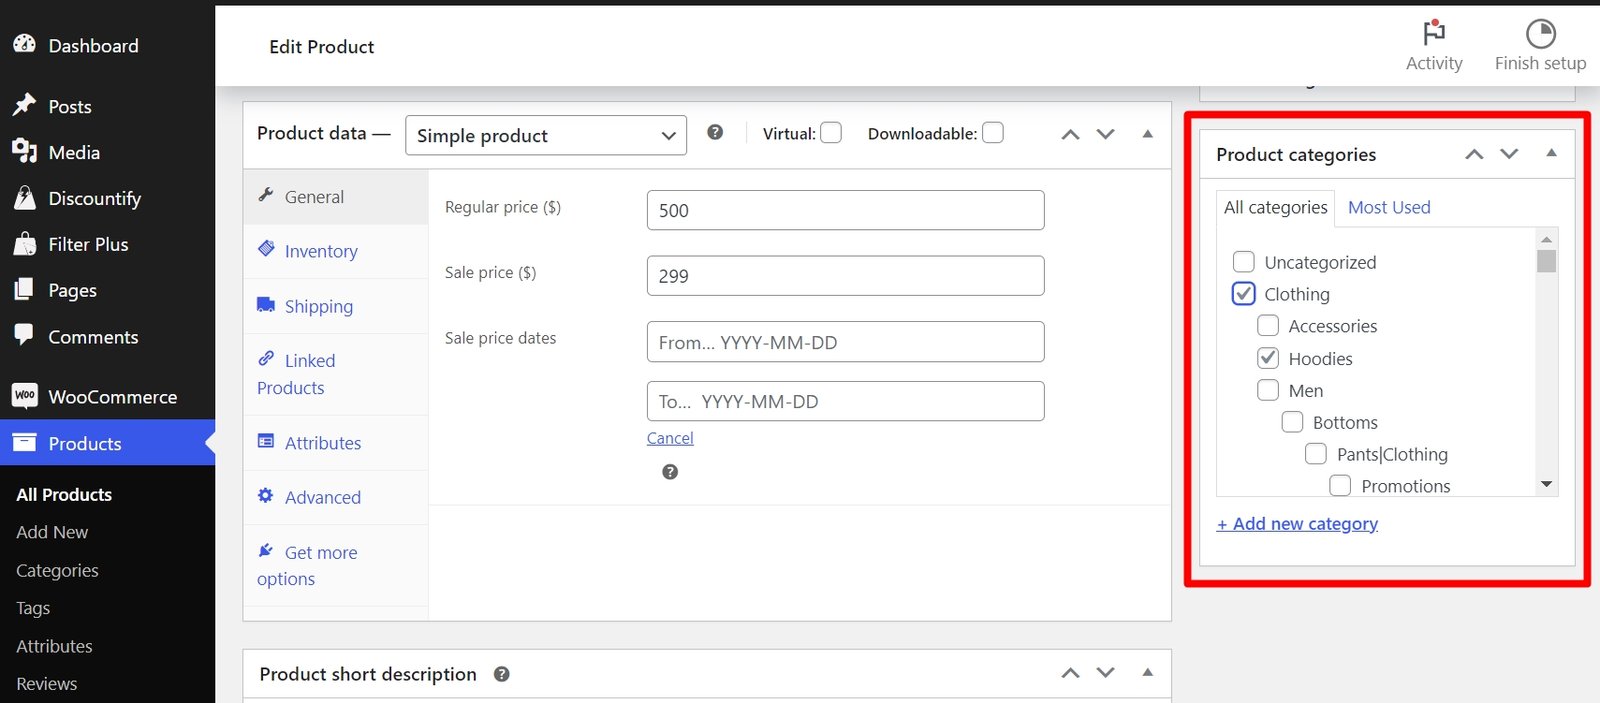
Put a tick mark on all of the relevant categories and sub-categories and update the product. That’s it! This product is successfully assigned to the new category.
Step 3: Create a Product Filter
Now, it’s time to create your product filter. Navigate to Filter Plus > Filter Sets > WooCommerce Filter. There, select your template and product categories first. Only the products with your selected categories will be displayed on your product page. Then, select the additional options you want to display in the product filtering section.
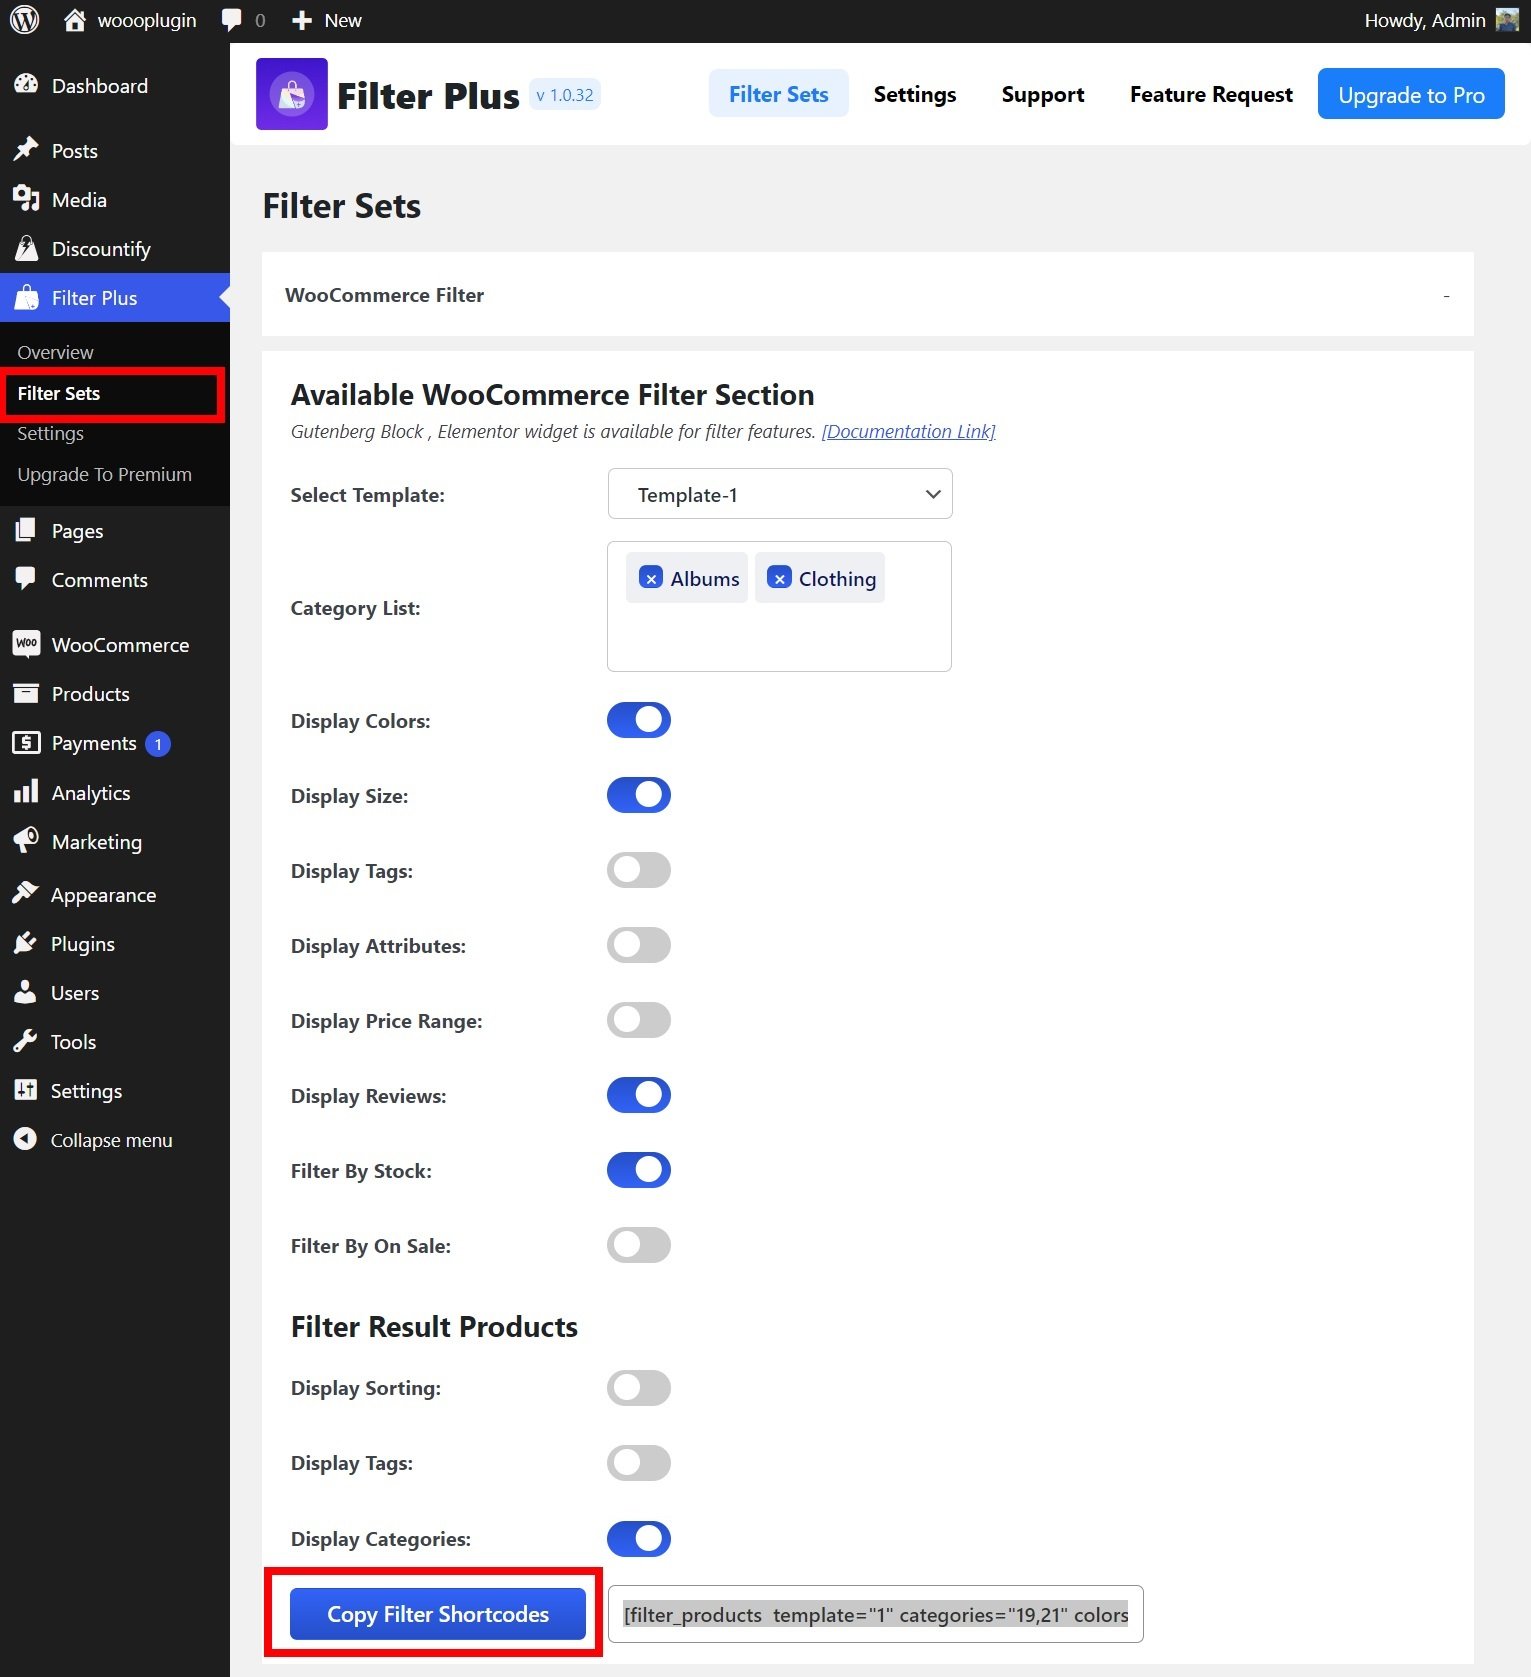
The available filtering options are:
- Color
- Size
- Tags
- Attributes
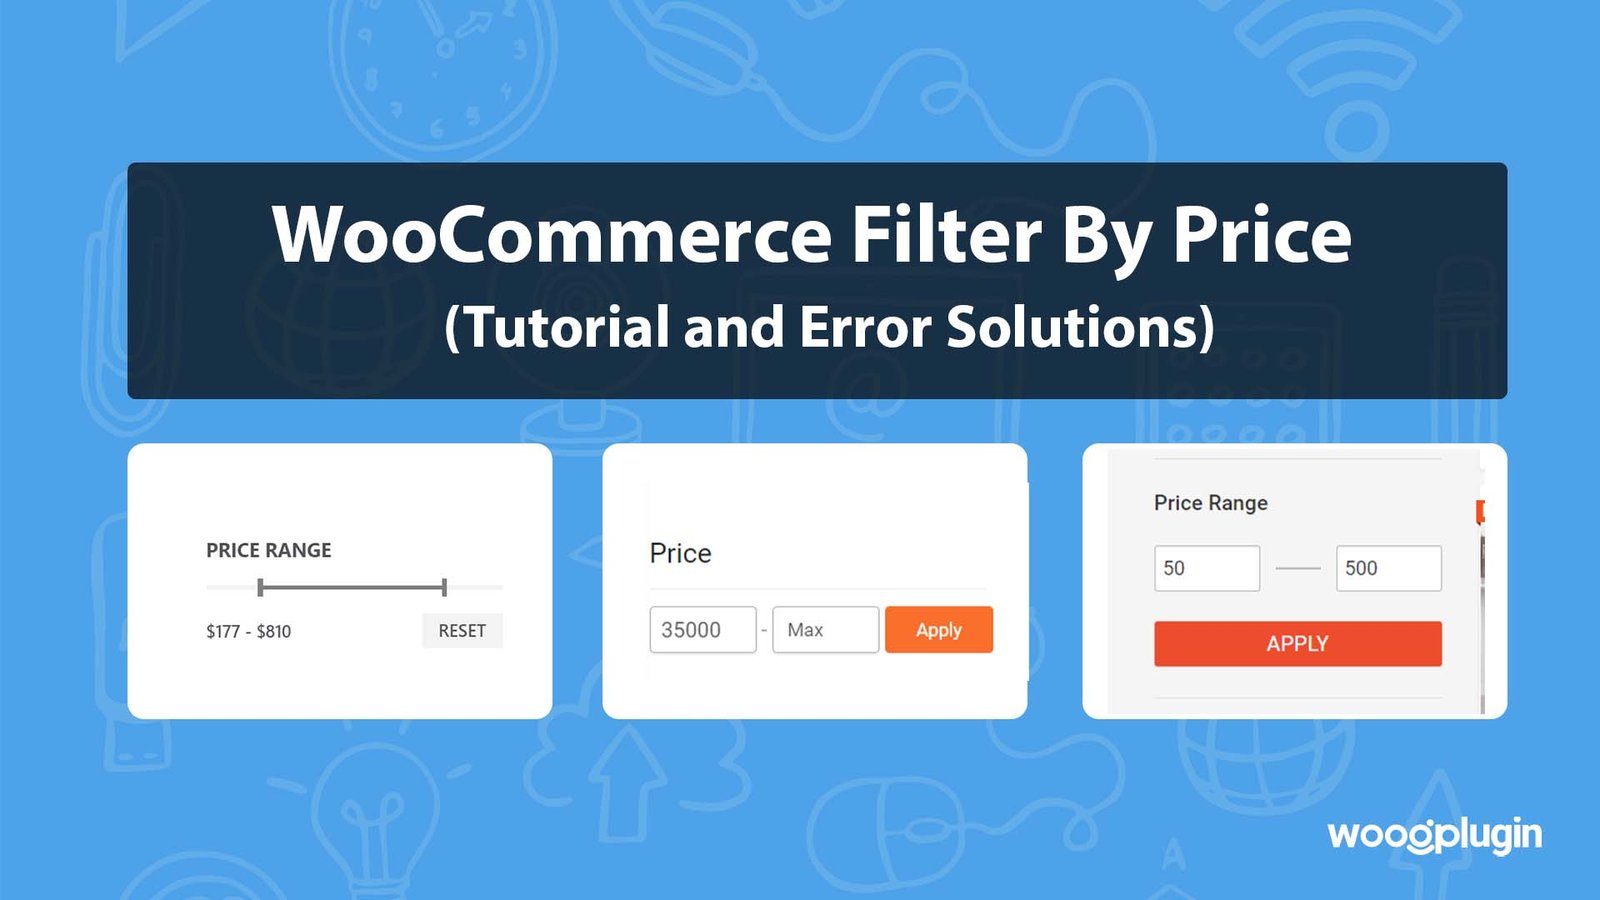
- Price Range
- Reviews
- Stock
- On Sale
After selecting the required filtering options, simply click on the “Copy Filter Shortcodes” button. It will automatically copy the shortcode to your clipboard. Alternatively, you can also manually copy the shortcode from the box located on the right side.
Step 4: Display Category Filtering on the Product Page
There are two different ways to display your selected products on your shop page. You can either use the Shortcode block or the dedicated “WooCommerce Product Filter” block by Filter Plus. Let me show you both processes.
Create a new page or open an existing page first. Then, insert the Shortcode block on your webpage. Then, paste the previously copied shortcode from the Filter Plus plugin. That’s it! Save the page, and your task is done!

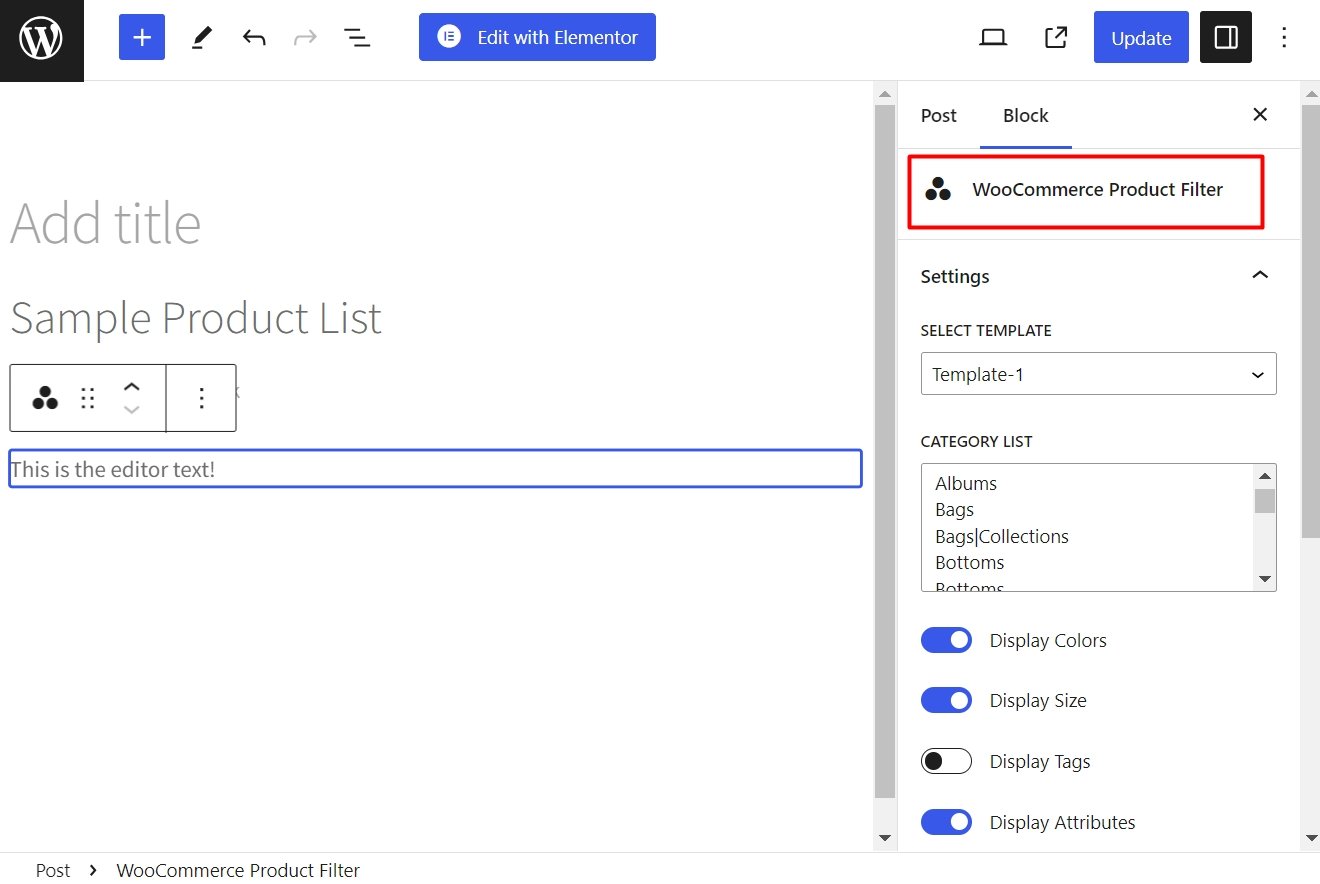
You can also add the filtering options using the dedicated “WooCommerce Product Filter” block. Insert the block and make the required customization from the right panel.
You can select the template, choose product categories, and add or remove filtering options right from there. Once you are done editing, publish the page.
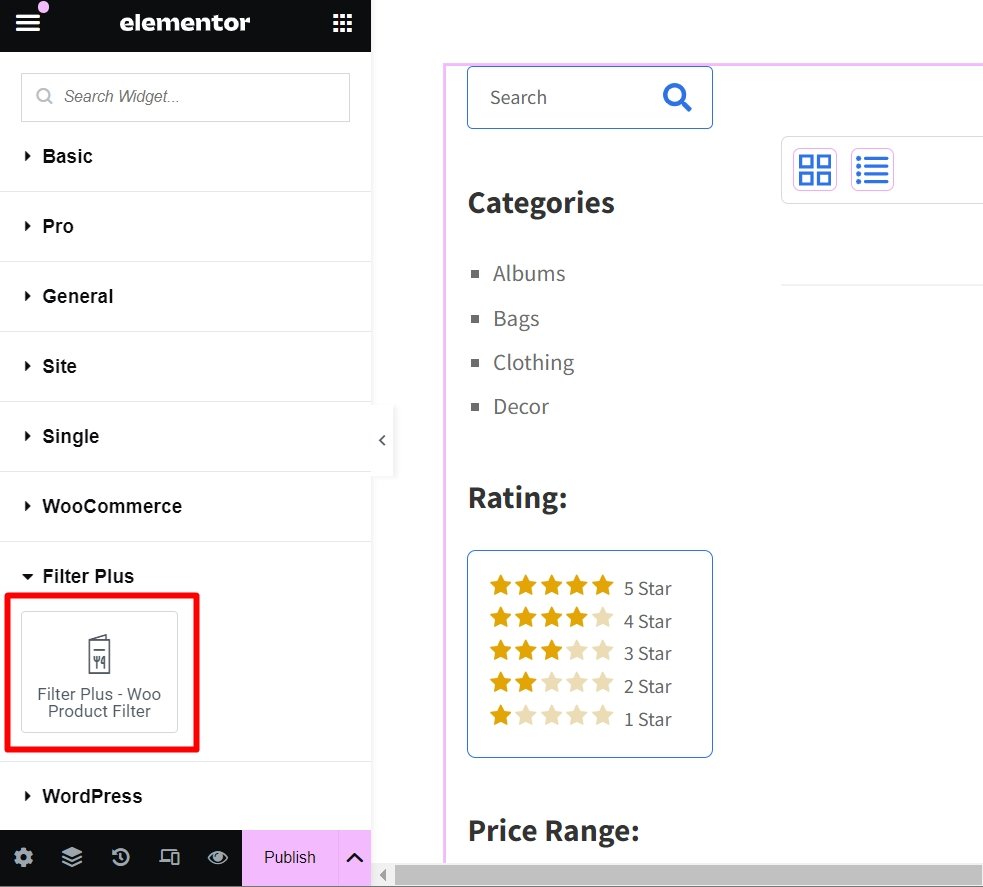
However, Filter Plus has an Elementor widget too. So, if you are designing your online store using Elementor, you are also covered. From the Elementor widget panel, select the “Woo Product Filter” widget and use it on your webpage.
By the way, you can also customize the template right from the Elementor panel. The customization panel looks like this:
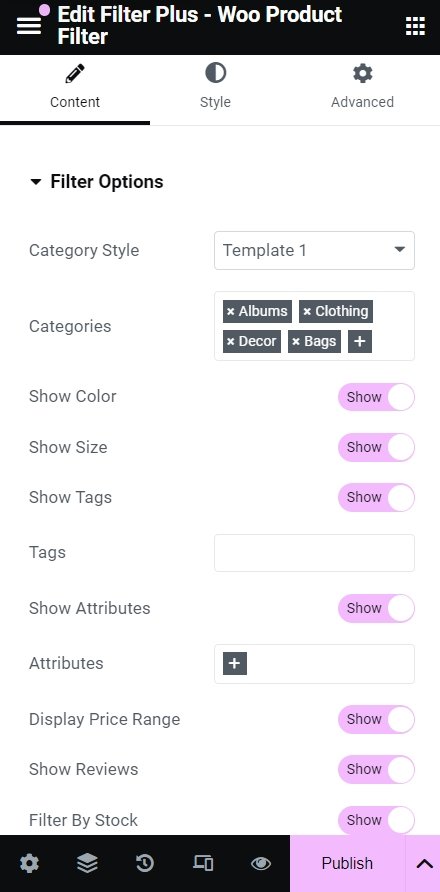
After customizing the template, don’t forget to publish the page.
Step 5: Final Preview
Here’s the final preview of the category filtering in WooCommerce.
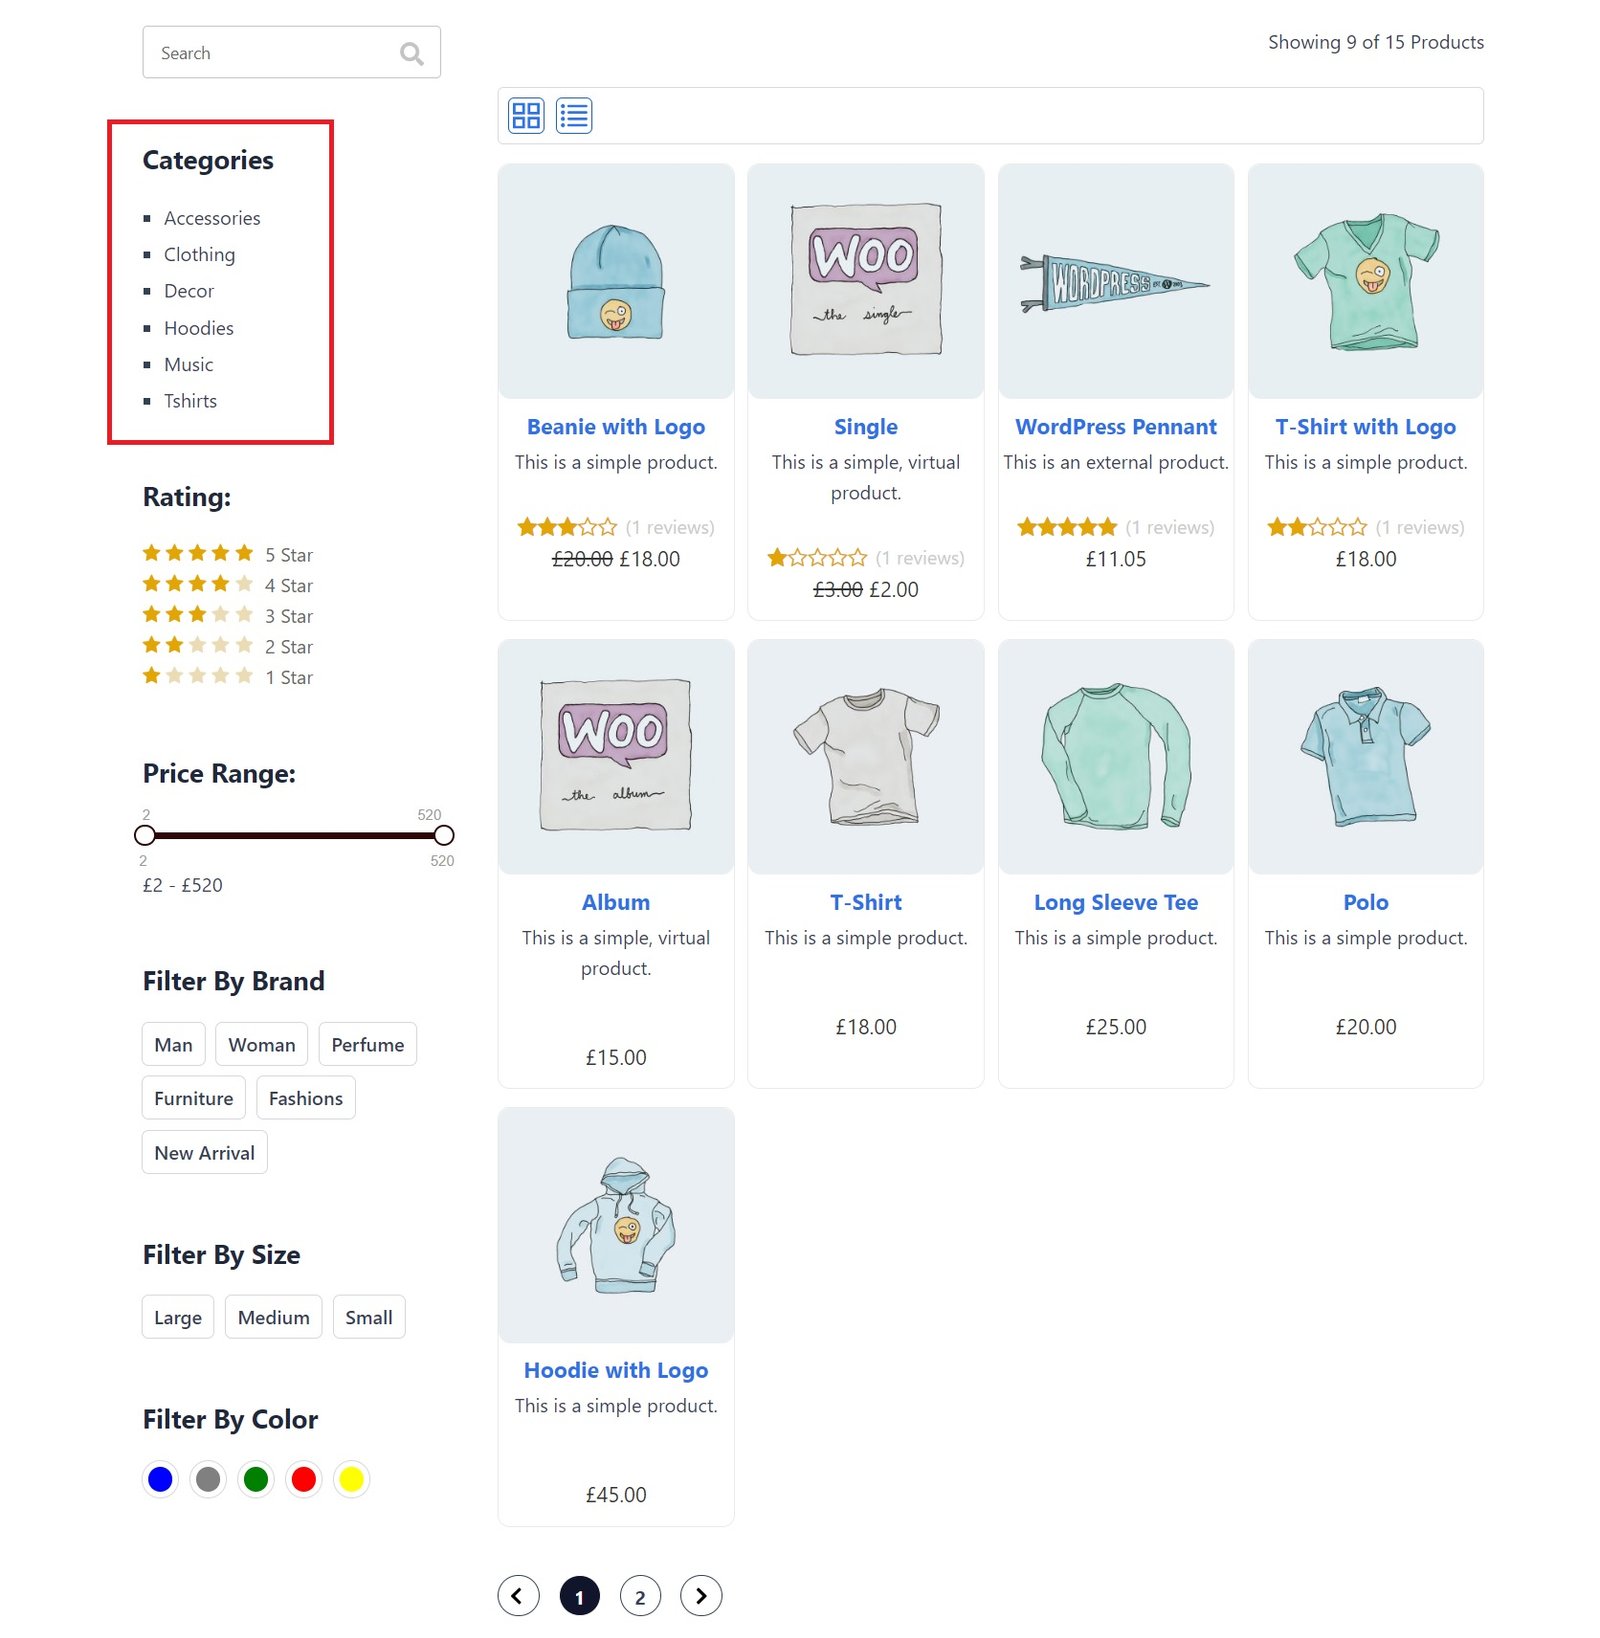
Here, shoppers can filter product by category from the left panel. They can also check products with specific categories by clicking on the category name.
Why Adding Category Filtering in WooCommerce is Important
Here are some core reasons behind adding category filtering functionality in WooCommerce.
- Improves Navigation: Category filtering improves the overall website navigational experience for potential shoppers. It provides a clear and intuitive pathway to finding the right product. This efficiency encourages users to explore more products in your store.
- Boosts Product Sales: A well-implemented category filtering functionality directly boosts product sales. As the shoppers can find their products faster, they are more likely to place the order immediately. So, it boosts the overall sales of your WooCommerce store.
- Reduced Support Burden: Customers are more likely to contact support if they don’t find their specific product. Thus, you have to answer countless inquiries about the product. It kills your valuable time. You can save all that time only by implementing a category filter in WooCommerce using Filter Plus.
- Increases Conversion Rate: An effective category filtering isn’t just about convenience. It also increases your conversion rate. As the customers can find whatever they need within a short time, the conversion rate and bounce rate increase.
Let me give you an example. Suppose a buyer is looking for some athletic shoes. There’s no need to wade through pages of dresses, computer parts, or kitchenware. He can simply choose the athletic shoe category and purchase his shoes. Easy! - Enhances SEO Performance: Implementing category filtering in your WooCommerce store has a positive impact on SEO. As your products are properly categorized, search engine bots can crawl and index those products properly. It results in a better ranking of your website on the search engines.
These are the most important reasons behind implementing the filter product by category feature in your WooCommerce store.
Final Words
Do you know how many products a WooCommerce website can handle? Actually, there is no limit! You can store as many products in your WooCommerce store as your hosting can accommodate. That’s why you’ll need the category-wise product filtering options in WooCommerce.It will help shoppers purchase the right products from your online store.
So, use Filter Plus to add the feature to filter product by category in your WooCommerce store and boost your sales like never before!